You’re halfway through a recipe when it hits you: the instructions call for two tablespoons of cocoa powder and one cup of milk, and your measuring cups and spoons are sitting side by side in the drawer. Does it actually matter which one you grab? Can you just use three teaspoons instead of a tablespoon, or measure a cup of flour one spoonful at a time?
The short answer is yes, it matters — and understanding why will quietly make you a better, more consistent cook. Measuring cups and measuring spoons aren’t interchangeable versions of the same tool. They were designed for different jobs, different volumes, and different ingredient types. Once you know which tool suits which task (and how to use each one properly), your pancakes come out fluffier, your sauces taste the same every time, and baking stops feeling like a gamble.
The Core Difference: Volume and Precision
Measuring cups handle larger volumes — think a quarter cup and up. Measuring spoons handle small volumes — a tablespoon and below. That split exists for a practical reason: accuracy.
Small measuring errors matter more at small volumes. If you’re off by half a teaspoon of baking powder in a cake, the whole texture can shift. But being off by half a teaspoon when you’ve measured two cups of flour is a rounding error nobody will notice. Spoons give you fine control where it counts; cups give you speed and convenience where precision is less critical.
There’s a second, equally important distinction hiding inside the “cups” category itself: dry measuring cups and liquid measuring cups are different tools. Dry cups are meant to be filled to the brim and leveled off. Liquid cups (the ones with a spout and measurement lines up the side) are meant to be filled to a line and read at eye level, with headspace above so nothing sloshes out. Swapping them introduces exactly the kind of error you’re trying to avoid.
Meet the Three Tools
Dry measuring cups
These come in nested sets, usually 1 cup, 1/2 cup, 1/3 cup, and 1/4 cup. Each cup measures exactly its stated volume when filled level to the rim. They’re designed for dry ingredients like flour, sugar, oats, cocoa powder, and breadcrumbs — anything you can scoop and sweep flat.
The correct technique: scoop or spoon the ingredient into the cup so it mounds above the rim, then sweep a straight edge (the back of a butter knife works perfectly) across the top to level it. Never tap the cup on the counter to settle the contents — that packs the ingredient down and you’ll end up with more than the recipe intended, especially with flour.
Liquid measuring cups
These are the clear vessels with a pour spout — glass or transparent plastic — marked with cup, ounce, and milliliter lines. Because you fill them to a line rather than to the brim, they’re ideal for water, milk, oil, broth, honey, and other pourable ingredients.
The correct technique: set the cup on a flat surface, pour in your liquid, then bend down so your eyes are level with the measurement line. Reading from above makes the liquid look higher than it is, thanks to the meniscus (the slight curve at the liquid’s surface). For the most accurate reading, look at the bottom of that curve.
Measuring spoons
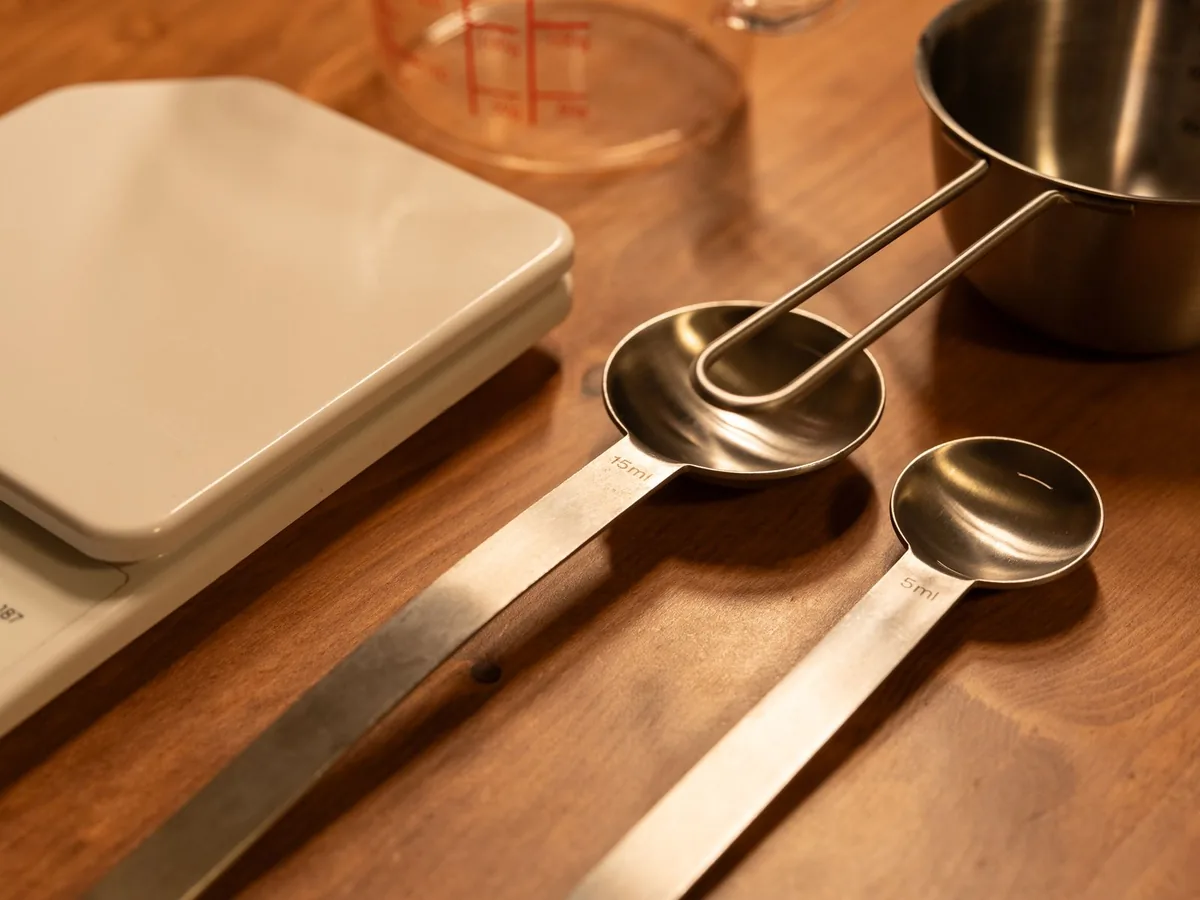
A standard set includes 1 tablespoon, 1 teaspoon, 1/2 teaspoon, and 1/4 teaspoon (many sets add 1/2 tablespoon and 1/8 teaspoon too). Spoons are your precision instruments: spices, salt, baking powder, baking soda, vanilla extract, lemon juice — anything used in small amounts where a little too much or too little changes the outcome.
The technique depends on the ingredient. For dry ingredients, fill the spoon generously and level it off with a straight edge, just like a dry cup. For liquids, fill the spoon to the brim without letting it overflow or form a dome on top.
The Conversions Worth Memorizing
You don’t need to memorize a whole chart, but these relationships come up constantly:
| Conversion | Equals |
|---|---|
| 1 tablespoon | 3 teaspoons |
| 1/4 cup | 4 tablespoons |
| 1/3 cup | 5 tablespoons + 1 teaspoon |
| 1/2 cup | 8 tablespoons |
| 1 cup | 16 tablespoons (48 teaspoons) |
| 1 cup | 8 fluid ounces (about 240 ml) |
| 1 pint | 2 cups |
| 1 quart | 4 cups (2 pints) |
A quick mental shortcut: since 1 tablespoon equals 3 teaspoons, you can always scale a spoon measurement up or down. Need half a tablespoon? That’s 1 1/2 teaspoons. Need 2 teaspoons but only have a tablespoon? Fill it two-thirds full — or better yet, just use the teaspoon twice.
When Cups Beat Spoons (and Vice Versa)
Reach for cups when:
– Measuring a quarter cup or more of anything
– Working with liquids (use the liquid cup with the spout)
– Measuring sticky ingredients like honey or peanut butter in larger amounts — a light coating of oil or cooking spray inside the cup helps them slide right out
– Speed matters more than pinpoint accuracy, as in most everyday cooking
Reach for spoons when:
– Measuring a tablespoon or less
– Adding leaveners (baking powder, baking soda), salt, or spices — where small differences change results
– Measuring small amounts of liquid flavorings like vanilla or extracts
– Scaling a recipe down, where every fraction counts
The gray zone — between 1 and 4 tablespoons — is where judgment comes in. Measuring 3 tablespoons of olive oil with a tablespoon three times is perfectly fine. Measuring 12 teaspoons of anything one teaspoon at a time is asking for a counting mistake; grab the quarter cup instead (4 tablespoons = 1/4 cup).
Pros and Cons at a Glance
| Tool | Pros | Cons |
|---|---|---|
| Dry measuring cups | Fast for large volumes; easy to level precisely; nest for storage | Useless for small amounts; wrong tool for liquids |
| Liquid measuring cups | Spout prevents spills; multiple units on one vessel; headspace avoids sloshing | Hard to measure small volumes; meniscus reading takes practice |
| Measuring spoons | Precise for small amounts; essential for baking chemistry | Slow for large volumes; easy to lose; miscounting is common |
How to Measure Like You Mean It
Technique matters as much as the tool. These habits separate consistent results from kitchen roulette:
- Spoon flour into the cup, don’t scoop from the bag. Scooping packs flour down, and a “cup” of scooped flour can weigh significantly more than a cup of spooned-and-leveled flour. For the most reliable baking, weigh your flour on a digital kitchen scale instead — weight doesn’t care how you filled the cup.
- Level everything dry. A heaping teaspoon of baking powder is not a teaspoon. Level it.
- Measure liquids at eye level. Set the cup down and crouch; don’t eyeball it from standing height.
- Measure over a separate bowl, not over your mixing bowl. If you over-pour vanilla into a small dish, you can pour the excess back. Over-pour into the batter and there’s no going back.
- Keep dry and wet tools separate mid-recipe. Dipping a damp spoon into your flour bag introduces moisture and clumps. It also throws off the next measurement.
Care and Maintenance
Measuring tools are low-maintenance, but a few habits keep them accurate:
- Stainless steel cups and spoons are the workhorses — dishwasher safe, nearly indestructible, and they don’t absorb odors or stains. If the stamped markings ever wear off, it’s time to replace them.
- Plastic sets are affordable and fine for everyday use, but they can warp in a hot dishwasher cycle and may retain stains from turmeric or tomato. Wash in warm, not scalding, water to extend their life.
- Glass liquid cups can stain or etch over time. A soak in warm water with baking soda usually restores clarity. Check that the printed measurement lines haven’t faded — if they have, retire the cup.
- Store nested sets together so pieces don’t wander off. A missing 1/3 cup is the most common casualty in any kitchen.
Common Mistakes to Avoid
- Using a coffee mug as a “cup.” Mugs vary wildly — anywhere from 8 to 16 ounces. Your grandmother’s mug is not a measuring device.
- Using a dinner tablespoon as a “tablespoon.” Tableware spoons aren’t standardized. A soup spoon can hold anywhere from half to twice a real tablespoon.
- Measuring flour by scooping. As noted above, this is the number one cause of dense, dry baked goods.
- Eyeballing leaveners. Baking powder and soda are chemistry, not seasoning. Measure them properly every time.
- Ignoring the dry/liquid cup distinction. Filling a dry cup with milk to the brim and carrying it across the kitchen is a spill waiting to happen — and you’ll lose some along the way, under-measuring without realizing it.
Frequently Asked Questions
Can I use measuring spoons instead of cups if I do the math?
Technically yes — 16 tablespoons make a cup. Practically, measuring a cup of flour one tablespoon at a time introduces a small error with every scoop, and those errors add up. For anything over a quarter cup, use cups.
Are American and metric cups the same?
Close but not identical. A US customary cup is about 240 ml, while a metric cup (used in many international recipes) is 250 ml. For most cooking it doesn’t matter; for precise baking, check which standard your recipe uses and measure accordingly.
Do I really need both dry and liquid measuring cups?
If you bake or cook regularly, yes. You can get by with one set for a while, but a two-cup glass liquid measure and a basic nested dry set together cost little and remove a whole category of error from your cooking.
Why does my baking fail even when I measure carefully?
Volume measuring has built-in variability — how tightly flour packs, how level your “level” really is. If precision baking frustrates you, a kitchen scale is the single biggest upgrade you can make. Grams don’t lie.
How do I measure sticky ingredients like honey or molasses?
Lightly coat the cup or spoon with oil or nonstick spray first, and the sticky stuff slides right out. For small amounts, measure honey in a liquid spoon over a plate to catch drips.
What’s the most accurate way to measure small amounts of dry ingredients?
A proper measuring spoon, filled and leveled with a straight edge. For anything under a teaspoon in baking, a scale that reads to 1 gram (or 0.1 gram) is even better.
The Bottom Line
Measuring cups handle the big stuff, measuring spoons handle the small stuff, and liquid cups handle the pourable stuff — with the right leveling and reading technique for each. Master those three tools and their conversions, and you’ll take a huge source of variability out of your cooking. And when you’re ready for the next level of accuracy, especially for baking projects like homemade pancakes or bread, a digital kitchen scale will change the way you measure forever.