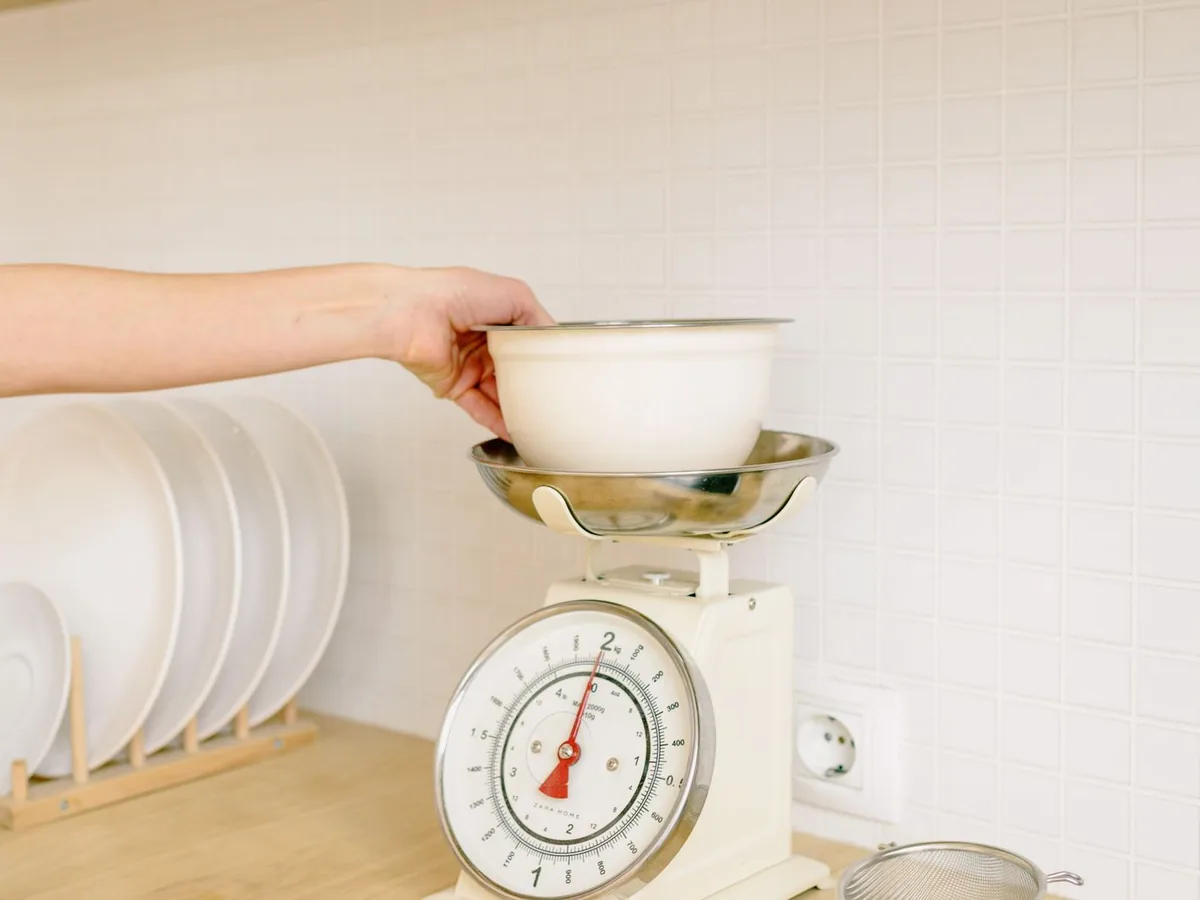
Ask professional bakers their number one tip for consistent results and most will give you the same answer: weigh your ingredients. A cup of flour can vary dramatically depending on how you fill it — scoop it from the bag and pack it down, and you might have far more flour than someone who spooned it in lightly. But 120 grams of flour is 120 grams of flour, every single time, in every kitchen in the world.
A digital kitchen scale removes the guesswork from measuring. It’s faster than measuring cups and spoons once you’re used to it (no leveling, no washing five different cups), more accurate for baking, and genuinely useful for portioning, coffee, and meal prep too. If you’ve never used one, this guide will take you from unboxing to confident weighing in a few minutes.
Why Weight Beats Volume
Volume measures space; weight measures amount. The problem with space is that ingredients don’t fill it consistently:
- Flour is the classic offender. Depending on whether you scoop, spoon, sift, or pack, a “cup” of all-purpose flour can differ by a wide margin — enough to turn tender pancakes dense or a pizza crust tough.
- Brown sugar is meant to be packed, but “packed” means different things to different people.
- Chopped vegetables, grated cheese, and herbs leave air gaps that vary every time.
Weight doesn’t care about any of that. A gram is a gram whether the flour is sifted or settled. That’s why professional recipes — and increasingly, good online ones — list weights alongside (or instead of) cup measurements. For baking especially, where ratios determine texture, weighing is the single biggest accuracy upgrade available to a home cook.
Digital vs. Mechanical: A Quick Comparison
| Feature | Digital scale | Mechanical (analog) scale |
|---|---|---|
| Readout | Precise digital display, usually to 1 g | Dial with markings, harder to read precisely |
| Tare function | Yes — zero out any container instantly | Rarely; you do the math yourself |
| Unit switching | Grams, ounces, ml, sometimes pounds | Usually one unit only |
| Precision | Typically 1 g increments | Approximate — parallax and dial width limit accuracy |
| Power | Batteries (long-lasting) | None needed |
| Price | Affordable — good models cost little | Similar or slightly less |
| Best for | Baking, coffee, portioning, general cooking | Rustic kitchens, no-battery simplicity |
For most cooks, digital wins on every count that matters. Mechanical scales have charm, but the tare button alone makes digital the practical choice — more on that below.
Features Worth Having
You don’t need an expensive scale, but these features separate the good from the frustrating:
- Tare (zero) button. The most-used button on the scale. It subtracts the container’s weight so you measure only the ingredient. Non-negotiable — every decent digital scale has one.
- 1-gram precision. Standard and sufficient for nearly all home cooking and baking. (Specialty coffee or tiny spice quantities benefit from 0.1 g precision, but that’s a separate pocket scale, not your main kitchen workhorse.)
- Unit switching (g / oz / ml). Useful when recipes mix systems. Grams for baking precision; ounces when an American recipe lists them.
- Adequate capacity. Most kitchen scales handle up to 5 kg (11 lbs) — plenty for a big bowl of dough or a batch of homemade pizza dough. Check the limit before weighing something heavy like a stockpot.
- A readable display. Look for a display that stays visible when a large bowl sits on the platform — pull-out or angled displays solve the “bowl hides the numbers” problem.
- A flat, easy-clean platform. Stainless steel wipes clean; fussy crevices collect flour forever.
How to Use It: Step by Step
Basic weighing
- Place the scale on a flat, stable, level surface. An uneven countertop gives uneven readings.
- Turn it on and wait for the display to settle at zero.
- Put your empty bowl or container on the platform.
- Press tare (sometimes labeled “zero”). The display returns to 0 — the bowl’s weight is now ignored.
- Add your ingredient until the display shows the target weight.
- Done. The number on screen is the ingredient alone.
Weighing multiple ingredients into one bowl
This is where the scale truly shines — the one-bowl method:
- Place your mixing bowl on the scale and tare it.
- Add flour to 250 g.
- Press tare again — display back to zero.
- Add sugar to 200 g.
- Tare again, add cocoa powder to 50 g… and so on.
You’ve measured five ingredients with one bowl and zero measuring cups to wash. For baking, this method is both faster and more accurate than volume measuring.
Measuring liquids by weight
Yes, you can weigh liquids too — and it’s wonderfully clean. Water and milk weigh essentially 1 gram per milliliter, so 250 ml of milk is 250 g on the scale. (Denser liquids like honey or oil differ, but most recipes that give liquid weights already account for that.) Place your measuring jug on the scale, tare, and pour to the target weight. No meniscus reading, no spills from carrying a brim-full cup across the kitchen.
Switching units
If a recipe lists ounces and your scale reads grams, press the unit button to toggle. One caution: don’t convert mid-recipe by mental math — switch the scale to the recipe’s unit and follow it directly.
A Quick-Reference Conversion Table
Handy when a recipe gives only volume and you want to weigh:
| Ingredient | 1 cup (approx. weight) |
|---|---|
| All-purpose flour | ~120–125 g |
| Granulated sugar | ~200 g |
| Brown sugar (packed) | ~220 g |
| Butter | ~227 g (2 sticks) |
| Rolled oats | ~90 g |
| Cocoa powder | ~100 g |
| Water / milk | ~240 g |
| Honey | ~340 g |
| Vegetable oil | ~220 g |
These are widely used approximations — exact values vary slightly by source and ingredient brand, which is precisely why weighing beats converting. When a recipe provides gram weights directly, always use those instead of converting from cups.
Use Cases Beyond Baking
- Bread and pizza dough: hydration percentages (water weight ÷ flour weight) are the language of serious bread baking — impossible without a scale. Your homemade pizza dough gets dramatically more consistent.
- Coffee: the brew ratio (coffee to water by weight) is what separates a great cup from a random one. A scale turns guesswork into repeatability.
- Portioning: divide dough, meat, or meal-prep containers into equal portions by weight — no eyeballing.
- Reducing waste: weigh the exact pasta you need instead of cooking half a box “just in case.”
- Dietary tracking: if you log food, weighed portions are far more accurate than estimated cups.
Care and Maintenance
- Keep it dry. Most kitchen scales aren’t waterproof. Wipe spills immediately, and never submerge the scale or run it under the tap. Clean the platform with a damp cloth.
- Don’t overload. Exceeding the maximum capacity can damage the sensor permanently. If the display flashes an overload warning, remove weight immediately.
- Store it flat in a drawer or on a shelf — don’t lean heavy items on it or store it on its side long-term.
- Replace batteries when readings get sluggish or the display dims. Weak batteries cause drifting, inaccurate numbers — a common mystery-solver for “my scale seems off.”
- Check accuracy occasionally. A quick sanity check: a US nickel weighs 5 g; many coins and standardized weights work as rough references. If readings seem wrong, try fresh batteries first, then check that the scale sits level and nothing is touching the platform or bowl.
Safety Considerations
Kitchen scales are among the safest tools you own, but a few notes:
- Keep the scale away from the stove’s heat and steam — heat can damage electronics and distort readings.
- Don’t use the scale as a cutting board or trivet. Sharp knives scar the platform; hot pots damage sensors.
- If weighing very hot items (a pot of jam, for instance), place a trivet or towel between the pot and the platform — or better, tare a room-temperature bowl and transfer.
- Keep small button batteries away from children and pets if your scale uses them.
Common Mistakes to Avoid
- Forgetting to tare. The classic beginner error — weighing the bowl along with the flour and wondering why the recipe failed. Tare every time you add a container.
- Weighing on an uneven surface. A tilted scale misreads. Flat counter, every time.
- Touching the bowl while weighing. A finger resting on the bowl adds phantom weight. Hands off once you start adding.
- Ignoring the unit. Adding 250 ounces when you meant grams is a disaster measured in kilograms. Glance at the unit indicator before you pour.
- Moving the scale mid-measurement. Picking it up or sliding it can confuse the sensor — set it down, let it settle, then weigh.
- Converting instead of weighing directly. If the recipe says 250 g, weigh 250 g. Don’t convert to cups “because it’s easier” — that defeats the entire purpose.
- Letting batter drip into the buttons. Wipe spills promptly; gunked-up buttons stop responding.
Frequently Asked Questions
Do I still need measuring cups if I have a scale?
For baking by weight, mostly not — though cups remain handy for rough cooking measurements and for recipes that only list volume. Many cooks keep both: the scale for baking precision, cups for everyday speed. Our cups vs. spoons guide covers when each shines.
What does the tare button actually do?
It resets the display to zero with the container on the platform, so everything you add afterward is measured as net ingredient weight. You can tare repeatedly to add multiple ingredients to the same bowl.
Can I weigh ingredients directly on the platform without a bowl?
For dry, solid items like a piece of fruit or a chunk of cheese, yes — just wipe the platform after. For anything loose, sticky, or liquid, always use a container (tared first).
Why does my scale show slightly different numbers each time?
Small fluctuations of a gram or two are normal — air currents, an unlevel surface, or a dying battery. Large or drifting swings usually mean weak batteries, an uneven counter, or something touching the bowl. Fresh batteries and a level surface fix the vast majority of cases.
Grams or ounces — which should I use?
Grams, whenever you have the choice. They’re smaller units, so they’re inherently more precise, and most modern baking recipes are developed in grams. Use ounces only when following a recipe written in ounces — and switch the scale rather than converting.
How do I measure less than 1 gram, like a pinch of yeast?
Standard kitchen scales read to 1 g, which isn’t fine enough for tiny quantities. For those, a small pocket scale (0.1 g or 0.01 g precision) is the right tool — or just use your measuring spoons for the pinch-scale stuff.
The Bottom Line
Set the scale on a level counter, tare your container, add ingredients to the target weight, and tare again for each addition — that’s 90% of using a kitchen scale. The payoff is real: more consistent baking, fewer dishes, faster prep, and recipes that turn out the same every time. Start with your next batch of pancakes or a round of pizza dough, and you’ll wonder why you ever measured flour any other way.