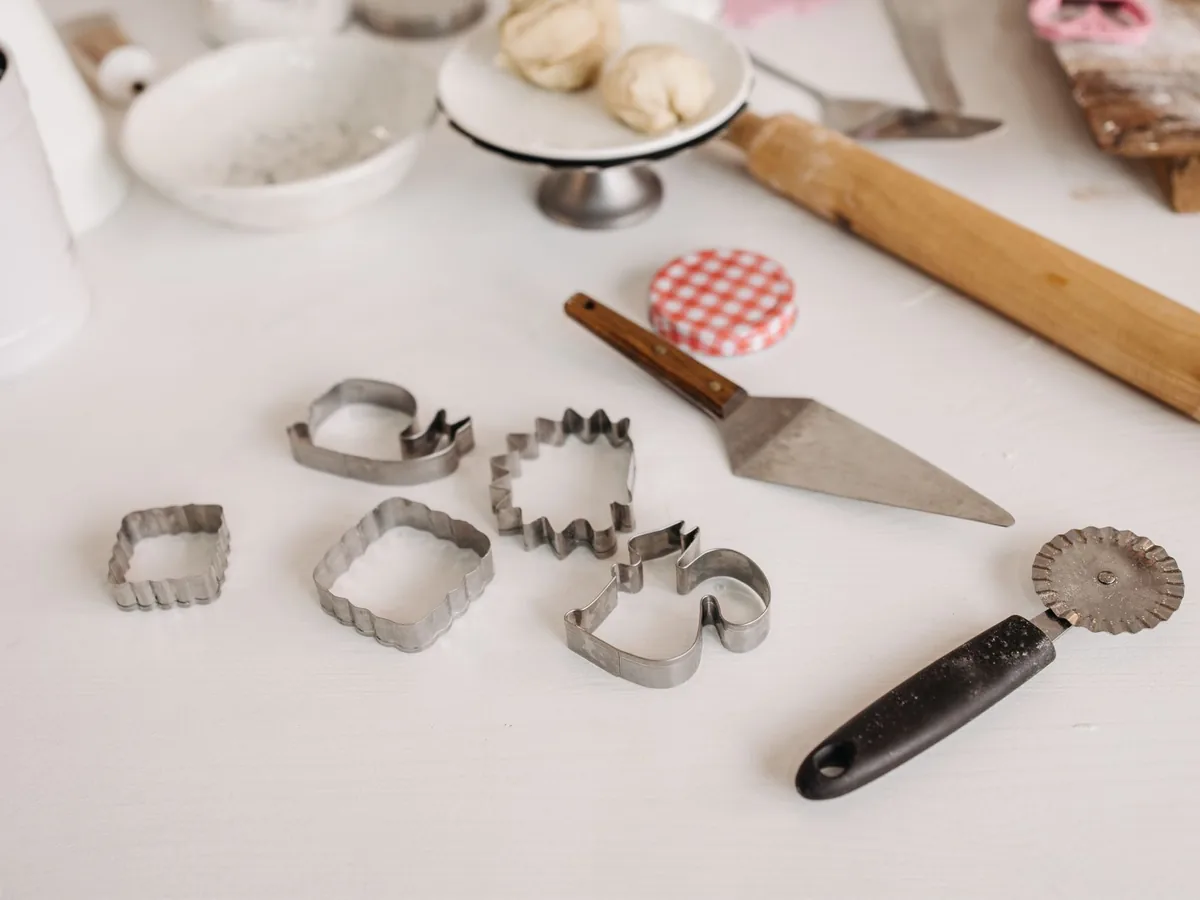
Walking into a kitchenware aisle as a new baker is overwhelming: forty kinds of pans, gadgets you can’t identify, and a creeping suspicion that you need all of it. You don’t. Baking rewards precision and consistency, not accumulation. A small, well-chosen set of tools will carry you through cookies, cakes, breads, and pastries — and you’ll learn what you actually need next only by baking.
This guide covers the true essentials, what to look for when choosing each one, what can wait, and how to care for it all.
What to Look for in Baking Tools (Selection Criteria)
Before the list, the principles that make any baking tool a good buy:
- Accuracy over features. Baking is chemistry; tools that measure and mix consistently beat tools with ten attachments.
- Oven-safe and heat-tolerant materials. Silicone, metal, and wood handle oven heat; cheap plastic doesn’t.
- Easy to clean. You’ll use tools you can rinse in seconds and avoid tools with crevices that trap dough.
- Standard sizes. Recipes assume standard pan sizes (9×13, 9-inch round, half-sheet). Non-standard pans force awkward conversions.
- Buy once where it matters. Mixing bowls, a scale, and sheet pans get daily use — this is where durability pays off.
The True Essentials
1. Digital kitchen scale. The single most impactful tool a beginner can own. Volume measurements of flour can vary by 30% depending on how you scoop; a scale removes the guesswork entirely. Look for a scale with 1-gram resolution, a tare function, and a capacity of at least 5 kg. If you’re weighing ingredients for the first time, our guide on how to use a kitchen scale walks through it step by step.
2. Measuring cups and spoons. Even with a scale, you’ll want both — many recipes are written in cups. Choose sturdy stainless steel over flimsy plastic; spoons should be narrow enough to fit into spice jars. For the full breakdown of when each matters, see our measuring cups vs. measuring spoons guide.
3. Mixing bowls (set of 3). Stainless steel or glass, in small/medium/large. You’ll use them for mixing, melting, whisking, and mise en place. Nesting sets save cabinet space.
4. Whisk. A medium balloon whisk handles batters, eggs, and dry ingredients. Comfortable grip matters more than wire count.
5. Silicone spatula. For folding batters, scraping bowls clean, and spreading frosting. Heat-resistant to at least 400°F (200°C); one wide and one narrow covers most jobs.
6. Wooden spoon. For stirring thick doughs and anything on the stovetop. Won’t scratch pans and doesn’t conduct heat.
7. Half-sheet pans (2). The hardest-working pan in baking: cookies, roasted anything, sheet cakes, catching drips. Heavy-gauge aluminum resists warping; avoid dark nonstick for beginners since it browns bottoms faster and can throw off timing.
8. 9×13-inch baking pan. For brownies, bar cookies, sheet cakes, and casseroles. Metal gives crisper edges; glass lets you see browning but needs a slight temperature reduction.
9. 9-inch round cake pans (2). For layer cakes. Light-colored metal bakes most evenly.
10. Loaf pan (9×5). For quick breads, pound cake, and yeast loaves.
11. Rolling pin. A simple straight (French-style) or handled pin — either works; pick the one that feels comfortable. Avoid textured novelty pins as your first.
12. Parchment paper. Not a tool exactly, but essential: prevents sticking, makes cleanup trivial, and helps with even browning.
13. Cooling rack. Baked goods left in hot pans keep cooking and go soggy underneath. A rack stops the bake and keeps bottoms crisp.
14. Oven thermometer. Home ovens routinely run 25–50°F off the dial. A cheap hanging thermometer tells you the truth and fixes a huge number of “my baking never works” mysteries.
Comparison: Where to Spend vs. Save
| Tool | Spend or Save? | Why |
|---|---|---|
| Digital scale | Spend | Accuracy is the whole point; cheap scales drift and die |
| Sheet pans | Spend (mid-range) | Heavy gauge resists warping; lasts years |
| Mixing bowls | Save | Basic stainless or glass performs identically |
| Whisk & spatulas | Save | Simple designs work; replace as needed |
| Cake pans | Spend (mid-range) | Even heating matters; warped pans bake unevenly |
| Measuring cups/spoons | Save | Stainless basics are accurate enough |
| Stand mixer | Wait | Wonderful later; a hand mixer or elbow grease suffices at first |
| Specialty pans (bundt, springform) | Wait | Buy for a specific recipe, not “someday” |
What Can Wait
You do not need a stand mixer, food processor, piping set, bench scraper, offset spatula, or silicone baking mats to start. They’re all genuinely useful — but each earns its place after you’ve baked enough to know you’ll use it. The one exception: if you bake bread weekly, a bench scraper jumps to essential quickly.
Pros and Cons of Building a Starter Kit
Pros of buying a curated set: matched sizes, one purchase, often cheaper per piece. Cons: kits pad out with tools you’ll never touch, and the quality of each piece is a compromise.
Pros of buying piece by piece: every item is chosen for quality and actually gets used. Cons: slower to assemble, slightly higher total cost up front.
For most beginners, the piece-by-piece route wins — buy the 14 essentials above, then add tools as recipes demand them.
Use Cases: What Each Tool Unlocks
- Cookies and bars: sheet pans, parchment, spatula, cooling rack, scale.
- Layer cakes: round pans, offset spatula (your first “wait” item to buy), whisk, scale.
- Quick breads and muffins: loaf pan, mixing bowls, wooden spoon.
- Pizza and flatbreads: sheet pan or a pizza stone later, rolling pin, scale for dough ratios — see our homemade pizza guide.
- Everyday breakfast baking: whisk, bowls, and sheet pan cover homemade pancakes and a simple homemade mac and cheese topping crisped under the broiler.
Care and Maintenance
Hand-wash nonstick and aluminum pans — dishwashers dull coatings and discolor aluminum over time. Never use metal utensils on nonstick surfaces. Dry sheet pans thoroughly before stacking to prevent rust spots on rims. Store cake pans nested with a paper towel or cloth between them to protect surfaces. Wooden spoons and rolling pins get an occasional rub with food-safe mineral oil to prevent cracking. Keep your scale dry and store it flat; crumbs in the buttons are the number one killer.
Safety Considerations
Always use oven mitts or thick dry towels — damp cloth conducts heat and causes burns. Keep handles turned inward on the stovetop. Let pans cool on a rack, not directly on countertops that can scorch. Check that spatulas and whisks are rated for the temperatures you’re using; melted plastic in batter is a ruined batch. And verify your oven’s real temperature with that thermometer before trusting any recipe’s timing — an oven running hot is a burn risk as well as a baking failure.
Common Mistakes
- Buying the 40-piece kit. Half the pieces gather dust; the pans are usually thin and warp.
- Skipping the scale. Scooped flour varies wildly — this one tool fixes more failed bakes than any other purchase.
- Using dark nonstick pans with standard recipes. Dark pans absorb more heat; reduce oven temperature by 25°F (about 15°C) or expect over-browned bottoms.
- No oven thermometer. If your bakes are always under or overdone despite following recipes, the oven — not you — is usually wrong.
- Cooling in the pan. Ten minutes in the pan is fine for cakes; beyond that, move to a rack or bottoms go soggy.
FAQ
What is the single most important baking tool for a beginner?
A digital kitchen scale. Accurate measurement fixes more baking failures than any pan or mixer.
Do I need a stand mixer to start baking?
No. A sturdy hand mixer — or even a whisk and some elbow grease — handles everything a beginner bakes. Buy a stand mixer when you’re baking often enough to crave it.
Metal, glass, or silicone pans — which is best?
Light-colored metal is the best all-rounder for even browning. Glass works well for bar cookies and casseroles (reduce heat slightly); silicone is convenient for muffins but browns less.
How many mixing bowls do I really need?
Three — small, medium, and large — covers mixing, melting, whisking, and holding prepped ingredients for nearly every recipe.
Can I bake without parchment paper?
You can grease and flour instead, but parchment is cheap insurance against sticking and makes cleanup dramatically easier. It’s worth keeping on hand.
When should I replace baking pans?
When nonstick coating flakes or scratches deeply, when pans warp badly enough to wobble, or when rust appears that won’t scrub off. Quality metal pans last many years with hand washing.
Conclusion
Start with the fourteen essentials, add the oven thermometer on day one, and let your baking tell you what comes next. The best-equipped baker isn’t the one with the fullest drawers — it’s the one whose tools get used, cleaned, and reached for without thinking.
Ready to put the kit to work? Try a batch of homemade pancakes to practice whisking and measuring, graduate to homemade pizza for dough handling with your scale and rolling pin, and when you’re comfortable, tackle homemade mac and cheese. And if the scale still feels unfamiliar, our how to use a kitchen scale guide will make it second nature.