
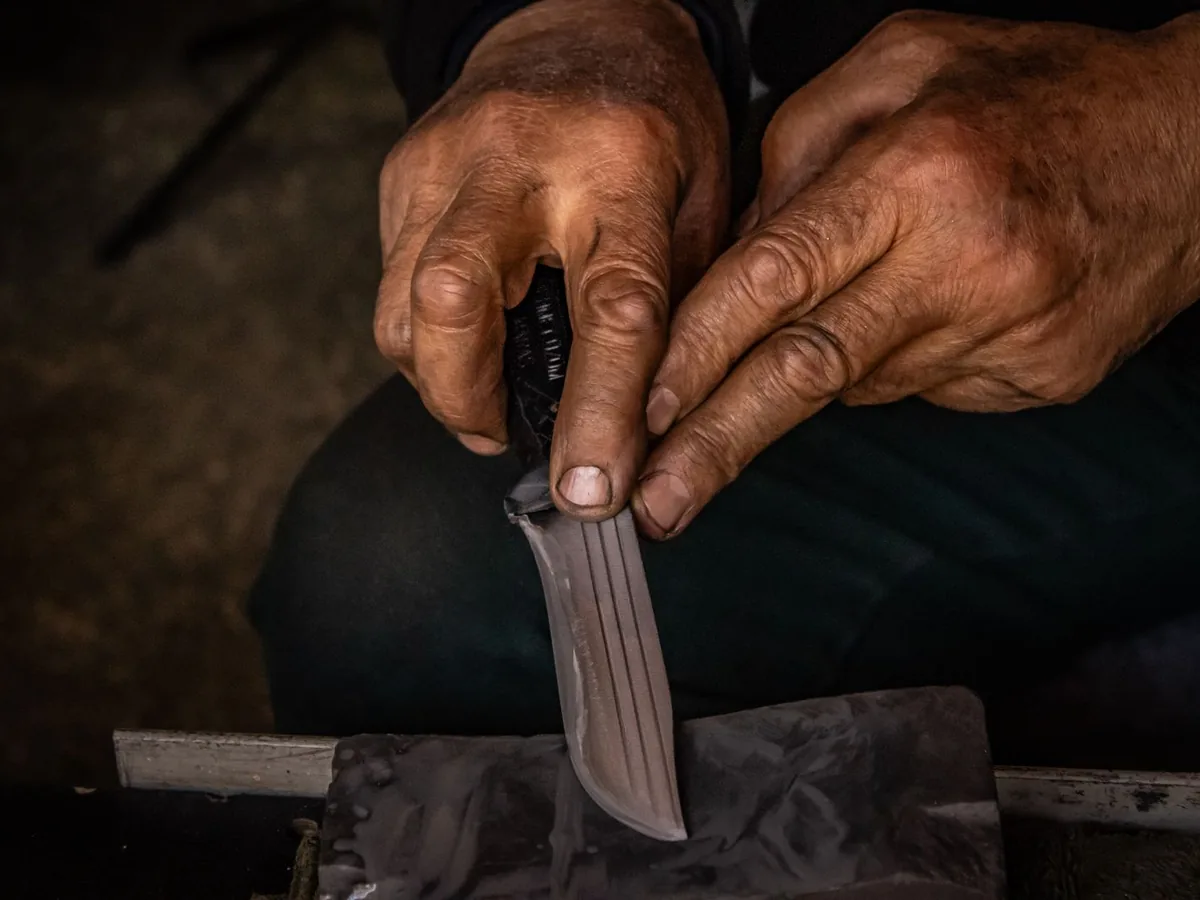
A sharp knife is one of the great quiet pleasures of cooking — vegetables fall apart under the blade, herbs slice instead of bruise, and prep work feels effortless. A dull knife, on the other hand, is genuinely dangerous: it slips, it crushes, and it forces you to push harder than you should. The good news is that keeping knives in top shape isn’t complicated or expensive. It comes down to three habits: clean them right, keep the edge aligned, and store them sensibly.
Whether you own a single well-chosen chef’s knife or a full block set, this guide walks you through everything you need to keep every blade sharp, hygienic, and safe for years.
Cleaning: The Daily Habit That Matters Most
How you clean your knives after every use has more impact on their lifespan than anything else you do.
Always hand wash. This is the single most important rule. Dishwashers are brutal on knives: the high heat dulls edges, harsh detergents can corrode certain steels, and blades rattling against racks and other utensils get nicked and chipped. A quick hand wash takes thirty seconds and adds years to a knife’s life.
Wash promptly. Don’t leave a knife sitting in the sink, and never leave one soaking. Acidic foods (tomatoes, citrus) can stain or pit carbon steel within minutes, and a blade hiding under soapy water is an accident waiting for whoever reaches in next.
The technique: Hold the knife by the handle, sponge the blade from spine to edge (never drag toward the sharp edge), using warm water and a drop of dish soap. For stuck-on food, let warm soapy water run over the blade for a moment rather than scrubbing aggressively.
Dry immediately and completely. This is the step most people skip, and it’s where rust starts. Water left on a blade — especially at the edge and around the handle joint — leads to spots, corrosion, and eventually pitting. Dry with a clean towel right after washing, drawing the towel from spine to edge, away from the sharp side. Then let the knife air-dry fully before storing.
A note on wood handles: If your knife has a wooden handle, never soak it and try to keep it out of prolonged water contact. Occasional treatment with food-safe mineral oil keeps the wood from drying and cracking.
Honing vs. Sharpening: Know the Difference
This is the concept that unlocks knife maintenance. Honing and sharpening sound similar, but they do completely different things:
- Honing realigns the edge. With use, a knife’s microscopically thin edge folds and bends to one side. A honing steel pushes it back into alignment. It doesn’t remove metal, and it doesn’t create a new edge — it straightens the one you have.
- Sharpening removes metal to create a fresh edge. When honing no longer restores cutting performance, the edge is worn down and needs to be reground with an abrasive like a whetstone.
Think of it this way: honing is brushing your teeth; sharpening is going to the dentist. You hone often (ideally every few uses), and you sharpen rarely (a few times a year for a home cook, depending on use).
The tomato test: if your knife slides across a tomato skin instead of biting in, try honing first. If honing doesn’t fix it, it’s time to sharpen.
How to Hone with a Honing Steel
A honing steel — that long ridged rod that often comes with knife sets — looks intimidating, but the motion is simple once you practice it slowly.
- Hold the steel vertically with the tip resting firmly on a cutting board or folded towel so it can’t slip. Grip the handle securely.
- Place the heel of the knife (the part nearest the handle) near the top of the steel, with the blade angled about 15–20 degrees from the steel.
- Sweep the blade downward and across the steel in a smooth arc, as if you’re trying to shave a thin layer off the rod, ending with the tip of the knife near the bottom of the steel.
- Repeat on the other side of the blade.
- Alternate sides for about 4–6 light strokes per side. Use gentle pressure — you’re straightening the edge, not grinding it.
Common honing mistakes: pressing too hard, using too steep an angle (which rounds the edge), going too fast before you’ve learned the motion, and honing a serrated knife on a standard steel (serrated edges need specialized sharpeners or professional service).
How to Sharpen: Your Options Compared
When honing stops working, you need to remove metal and rebuild the edge. Here’s how the main methods compare:
| Method | Best for | Skill needed | Notes |
|---|---|---|---|
| Whetstone (water stone) | Best edge quality; any straight-edged knife | Moderate — takes practice | Soak the stone, hold a consistent ~15–20° angle, work heel to tip on both sides; most versatile and affordable long-term |
| Pull-through sharpener | Quick touch-ups; beginners | Low | Fast and foolproof, but removes more metal than necessary and gives a coarser edge |
| Electric sharpener | Convenience; very dull knives | Low | Quick, but aggressive — can overheat and shorten blade life if overused |
| Professional service | Valuable knives; major repairs | None | Butchers, kitchen shops, and mail-in services restore edges expertly; ideal once or twice a year |
Whetstone basics (the method worth learning): Use a combination stone with a coarse side (around 1000 grit) and a fine side (3000–6000 grit). Soak it per the manufacturer’s instructions, place it on a damp towel so it won’t slide, and hold the blade at roughly 15–20 degrees per side. Push the blade across the stone as if slicing a thin layer off the top, covering the full length from heel to tip. Do even strokes on both sides, starting coarse and finishing fine. Rinse the blade and wipe it clean afterward — tiny metal particles cling to a freshly sharpened edge.
Storage: Protect the Edge (and Your Fingers)
Where you keep your knives matters as much as how you sharpen them. The enemy is contact: every bump against another utensil, the drawer wall, or the countertop dulls the edge a little.
Good options:
– Knife block or in-drawer dock — slots keep blades separated and protected. Keep the slots clean; crumbs trapped inside can dull edges.
– Magnetic wall strip — stores knives visibly and accessibly. Mount it securely, place knives spine-first (set the spine on the magnet, then rotate the edge on), and keep it away from high-traffic zones.
– Blade guards or edge sheaths — inexpensive plastic covers that protect individual knives in a drawer. Essential if drawer storage is your only option.
Never do this: toss knives loose into a utensil drawer. They’ll bang against everything, dull rapidly, and eventually cut someone reaching in blindly. Also avoid glass or ceramic knife holders filled with rods — they’re fine — but never store a knife loose where the edge contacts hard surfaces.
Choose Your Cutting Surface Wisely
Your cutting board is part of your knife maintenance system. Every cut drives the edge into the board, so the board’s hardness directly affects how long the edge lasts.
- Best: end-grain or edge-grain wood, and quality plastic/polyethylene boards. They give slightly under the blade, cushioning the edge.
- Acceptable: bamboo (harder than wood, slightly tougher on edges but fine for most use).
- Avoid: glass, ceramic, marble, granite, and stainless steel. These are harder than the knife edge and will roll or chip it with alarming speed. They’re serving platters, not cutting surfaces.
Replace boards that are deeply grooved — the grooves trap bacteria and catch the blade. And never cut directly on a countertop, for the sake of both the knife and the counter.
Safety Considerations
Sharp knives are safer than dull ones, but only with good habits:
- Cut away from your body, and keep fingertips curled under in a “claw grip” so knuckles guide the blade.
- Never try to catch a falling knife. Step back and let it drop. A knife on the floor is retrievable; a knife in your hand is a hospital visit.
- Hand a knife handle-first, laying it down for the other person to pick up when possible.
- Keep knives visible. Don’t leave a blade hidden under a towel or submerged in a sink of water.
- A sharp knife needs less force. If you find yourself muscling through food, stop — the knife needs honing, not more pressure. Most knife slips happen because someone forced a dull blade.
Common Mistakes to Avoid
- Putting good knives in the dishwasher. Heat, detergent, and rattling destroy edges faster than almost anything else.
- Honing when you should be sharpening (and vice versa). Honing a truly worn edge is wasted effort; grinding away metal on a merely misaligned edge shortens the knife’s life.
- Using the wrong angle on a whetstone. Too shallow and you polish without sharpening; too steep and you grind a thick, dull bevel. Aim for roughly 15–20 degrees per side and stay consistent.
- Cutting on glass or stone. Instant edge damage, every time.
- Storing knives loose in a drawer. The fastest way to ruin good edges and risk a cut.
- Waiting until the knife is dangerously dull. Maintenance is easier and removes less metal when you hone regularly and sharpen at the first signs of dullness rather than waiting for a crisis.
Frequently Asked Questions
How often should I hone my chef’s knife?
For a knife you use daily, a few light strokes on the steel every few uses keeps the edge aligned. Professional cooks often hone before each session. There’s no harm in honing often — it removes virtually no metal.
How often should I actually sharpen?
For a typical home cook, two to four times a year is plenty if you’re honing regularly. Heavy users may need it more often. Let performance be your guide: when honing no longer restores the bite, it’s time.
Can I sharpen serrated knives myself?
Serrated (bread) knives need a tapered sharpening rod worked through each serration individually — it’s fiddly. Most people are better off having serrated knives professionally serviced, which is needed far less often since serrations stay effective longer.
Is a honing steel the same as a sharpening steel?
The terms are used interchangeably, but most rod-style “sharpening steels” are actually honing tools — they realign rather than remove metal. True sharpening requires an abrasive like a whetstone. (Ceramic rods sit in between: they’re mildly abrasive and do remove a tiny amount of metal.)
My knife has rust spots. Is it ruined?
Usually not. Light surface rust can be removed with a gentle scrub using baking soda paste or a rust eraser, followed by thorough drying. Deep pitting is harder to fix and may need professional help, but prevention — dry your knives immediately — is far easier than the cure.
Should I oil my kitchen knives?
For stainless steel knives used daily, no. For carbon steel knives, a very light coat of food-safe mineral oil before long storage helps prevent rust. Never use cooking oils like olive oil — they go rancid.
The Bottom Line
Clean by hand, dry immediately, hone often, sharpen when honing stops working, store blades so nothing touches the edge, and cut on wood or plastic. That’s the whole system — none of it takes more than a minute or two, and together these habits keep your knives performing like new for years. If you’re still building your collection, start with one quality blade chosen well — our guide to choosing a chef’s knife will point you in the right direction — and treat it right from day one.